Building a personal website was on my TODO list since quite a long while, finally I overcame the procrastination!
This was the first time I built a website without any code (no spending hours on CSS moving the <div> 1cm to the right, woohoo!). I was impressed by the way WordPress lets an average blogger create a website hiding all the complexities and meet their expectations.
So that was it, spent 2 evenings and I now have a blog out here talking about how I did it! I hope this inspires you to create your own website!
Get your own domain
First thing I did was to get a top level domain for myself (“abhijithanair.com”).
There are many domain name registrars out there but I picked Google Domains for buying my domain. It was fairly straightforward.
Go to Google Domains, pick a domain you like, pay for it and voila! It costed me £10 an year, which I feel is worth it. If you have a more common name, it might get costlier and the availability would be low. I suggest that you buy a domain that reflects your name as soon as you can, you never know when it will disappear from the market forever.
I wanted to buy a “.com” domain simply because it is the most well known top level domain. “.com” is in some ways synonymous to the internet. An issue with fancy newer domain names is that certain websites might not accept your email address just because they have a buggy email verifier in place.
The domain management tooling in Google Domains seems easy to use too.
Set up Google Workspace
I didn’t need to set up a Google Workspace just to get this blog out here, but I chose to integrate my domain with Google Workspace nevertheless, mainly for the mail server and because I was able to get my hands on to some discounts.
Google Workspace set up allows you to buy your own domain as part of the sign up process, but I advice against it. It ties the domain with the workspace making it harder to decouple.
Host the server on Digital Ocean

I did a quick research on which platform to use to host my server. For a low traffic server, many on Reddit suggests Digital Ocean. I ended up choosing the most basic option on Digital Ocean costing £6 per month after two months of trial. One advantage of using Digital Ocean is that they have a plan which sets up WordPress on the server so I didn’t have to manual set up WordPress in the server.
Please refer to this tutorial.
Set up WordPress Server
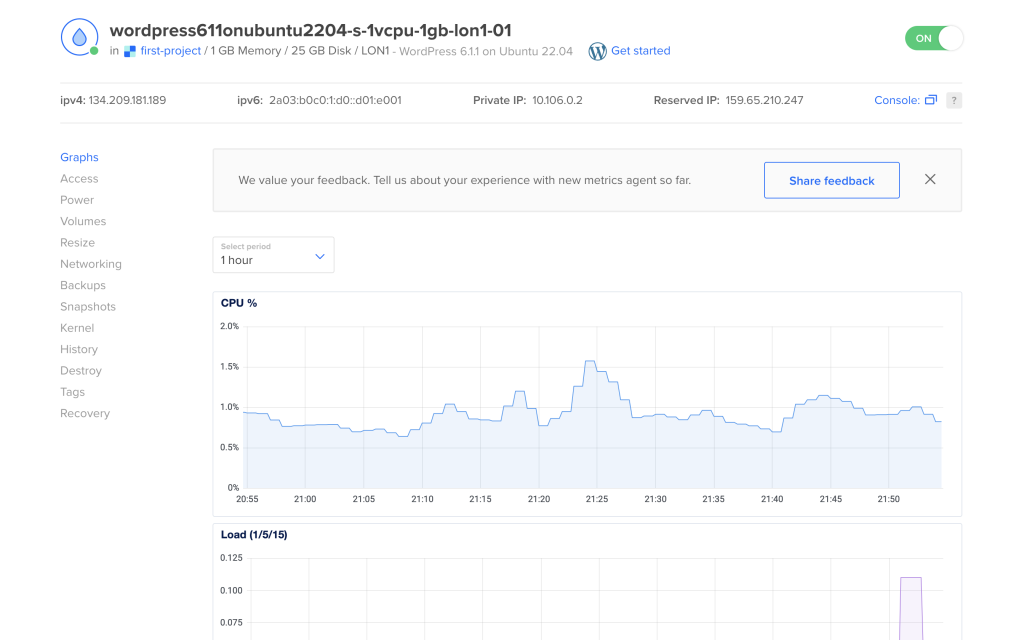
Once the Digital Ocean droplet was set up, I navigated myself to the console and followed the prompt to set up WordPress. It automatically set everything up based on my inputs and a default site was rendered if I navigated my browser to the droplet’s IPv4 address.
Add a DNS Entry

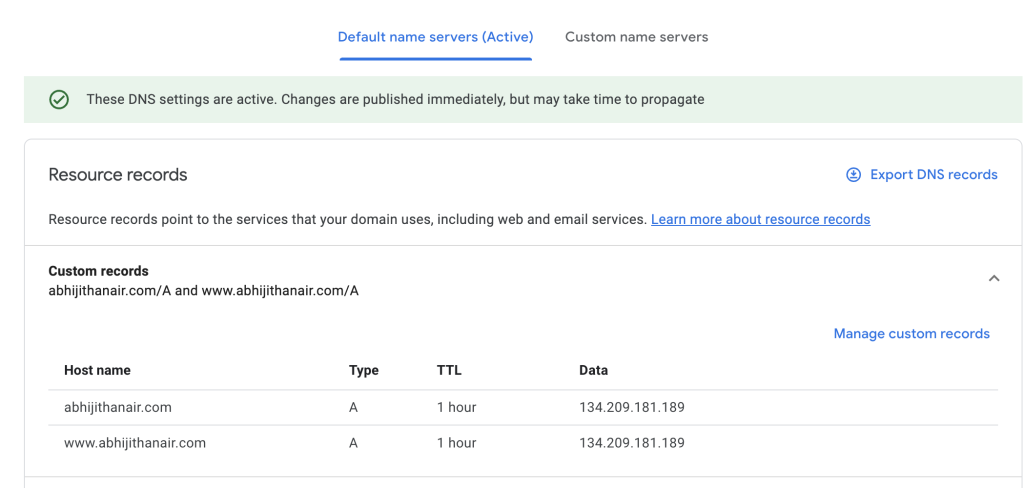
Now that I had something up and running on my server, I was now ready to point my new domain “abhijithanair.com” to my shiny new WordPress Droplet. For this, I visited the Google Domains page and added a DNS entry. Within a few minutes, navigating to “abhijithanair.com” on the browser rendered the default WordPress page.
HTTP -> HTTPS
Even though the page rendered, Chrome didn’t show the padlock symbol and kept notifying me that the connection was not secure. This was because HTTPS was not yet active for my server.
I just had to run the following command on the droplet and follow the prompt to set it up:
certbot --apacheInternally, in the most basic terms, what it does is the following:
- Generate a private/public key pair.
- Store the private key on the server.
- Send the public key to a Certificate Authority (CA).
- Next time the page is visited, the browser queries the CA for the public key and then encrypts the message using the public key. Only the server having the private key can decrypt it.
Once this was done, the padlock icon appeared and HTTPS was set up!
Learn how to use WordPress
I didn’t have the right conceptual model on how WordPress works, neither did I have the mood to read the documentation.
Watching this video ramped me up on the basics of WordPress:
Once I got the hang of the data model, everything else just clicked!
Activate Astra Theme
Finally, WordPress has a concept of themes and it took me a little bit of trial and error before settling on Astra as the right theme. It has a large user base, good documentation and it looked like it fit my requirements.
